To sign up for Skype Zones, complete the following steps:
1. Go to www.skype.com and click on the Skype Zones link, which can be found towards the bottom of the home page.
2. From the Skype Zones web page that is displayed, click on the link Sign up for Skype Zones now to get started.
3. Next choose the plan you want, Unlimited or AsYouGo, put an acceptance tick in the box underneath the service agreement, and click Next.
4. Enter your personal details (name, address, and so on) into the web form that appears and click Next.
5. Because the Skype Zones service is provided by Boingo, you must next create a Skype Zones user account (a user name and password, which need not be the same as your Skype user name and password) with Boingo. Enter your desired user name and password for Skype Zones, and then click Next.
6. Enter your credit card information for billing purposes, and click Next.
7. Finally, review all the information you have entered so far. If the information is correct, click Submit.
Phew! Now you are a Skype Zones subscriber. However, there is one more thing to do before you can actually use Skype Zones: you must download and install the Skype Zones software. After clicking on the Submit button on the final page of the signup process, you will be presented with a web page from which you can download the Skype Zones software. Just click on Download Skype Zones For Windows and in the popup window that appears, click on the Run button. Follow the instructions of the Skype Zones installation program, which will install and then run the Skype Zones program, which is shown in the figure above.

 To find an access point using a web browser, first go to www.skype. com. Click on the Skype Zones link, which can be found toward the bottom of the home page. On the Skype Zones web page that appears next, clicking on the link Find Skype Zones will display the web page shown in the figure above.
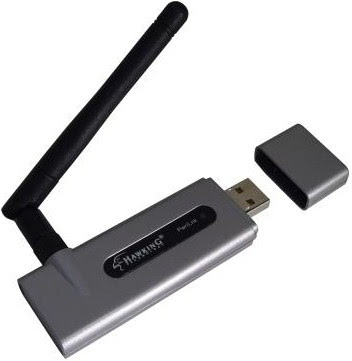 Before launching yourself into this chapter any farther, you should first understand that Skype Zones is a wireless network service, so your PC must be wireless enabled in order to make use of it. To check whether your PC has a wireless network adapter installed, go to Start: Control Panel and double-click on Network Connections. This should open a window that displays the available network connections for your PC. If, under the category LAN or High-Speed Internet, you have an entry named Wireless Network Connection (or something similar), you’re good to go for this chapter. If not, you’ll need to install and set up a wireless network adapter for your PC before you can use Skype Zones.